Step 1. Create an Account and enable it on your site.
Blatently stolen from Google:
- Visit https://www.google.com/adsense/start.
- Click Sign up now.
- Enter the URL of your site.
- Enter your email address.
- Click Save and continue.
- Sign in to your Google Account.
- Select your country or territory.
- Review and accept the AdSense Terms and Conditions.
- Click Create account.
You’re now signed in to your new AdSense account. This means that after Google has had a chance to review your site they will start selling ad space. This might take a while so it’s good to just get this started early.
Step 2. Place the code on your site
Google will provide you with HTML code to copy and paste into your header section. Leave this page open on a tab or window and put it to the side.
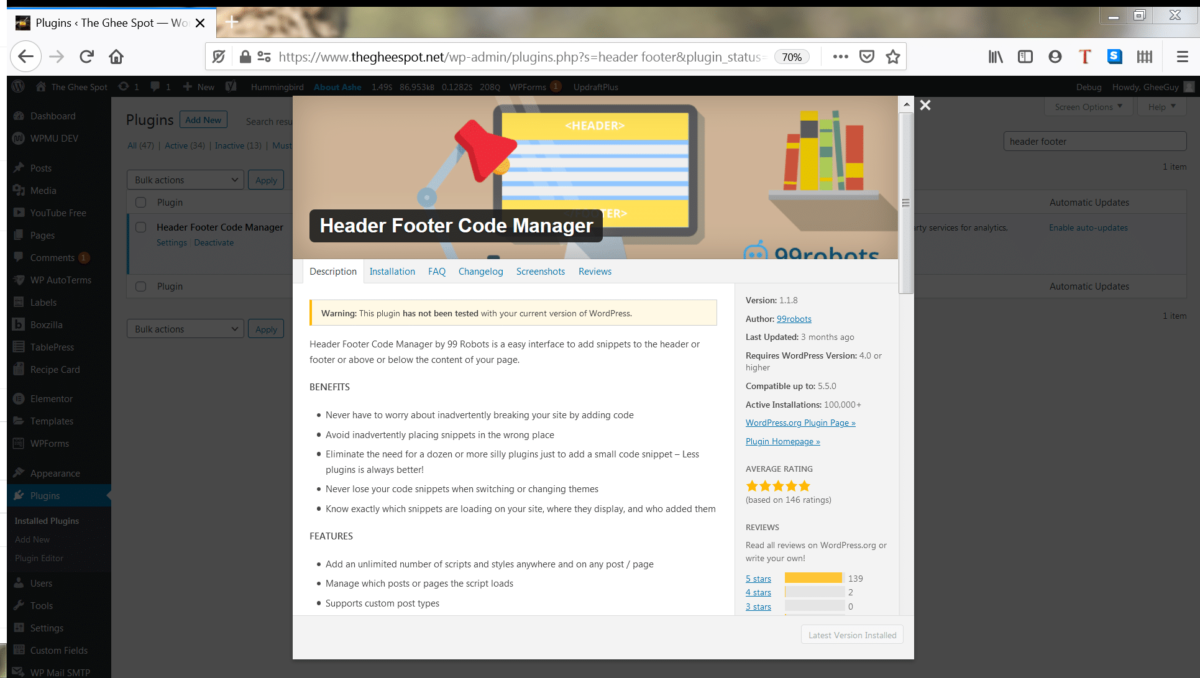
Header Footer Code Manager
There’s a multitide of ways to insert code into your site but I prefer HFCM (Header Footer Code Manager). It’s a little old school in that it doesn’t have a fancy interface or all sorts of curved edges to it’s GUI. It’s functional and simple. So go install it, go to your “Add New” page under “Plugins” and search for “HFCM”, install and activate Header Footer Code Manager.
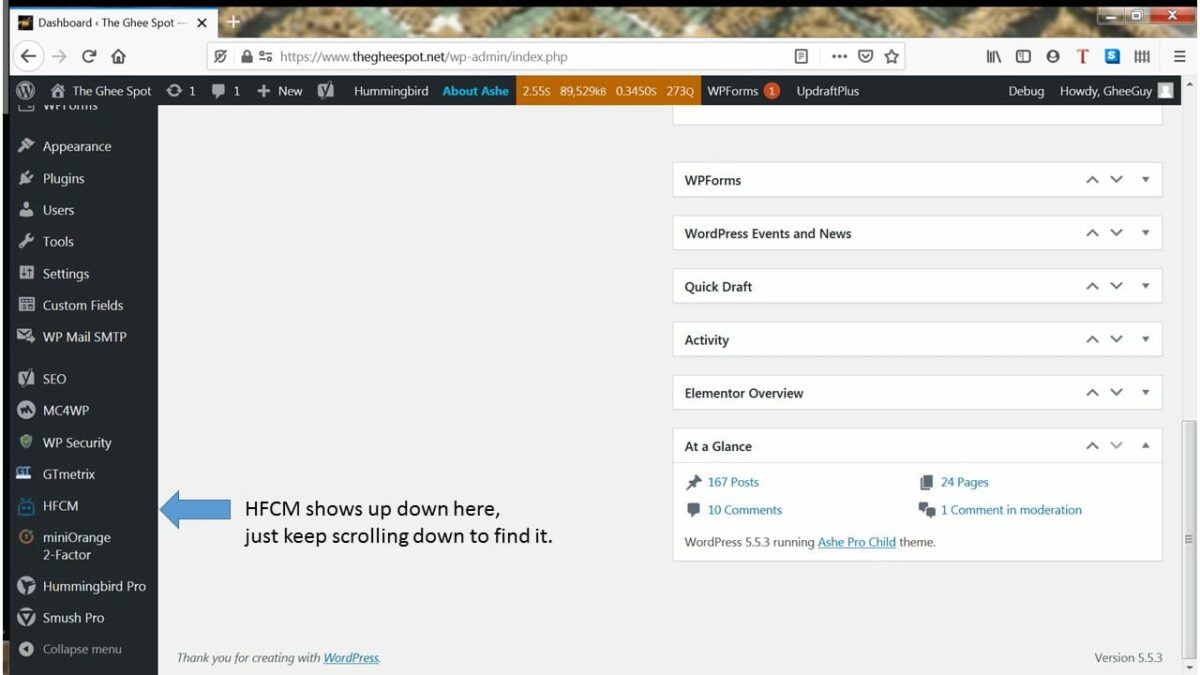
Go to HFCM on your wordpress admin side bar.
Adding your code
Click on Add New Snippet. (Shocking I know!)

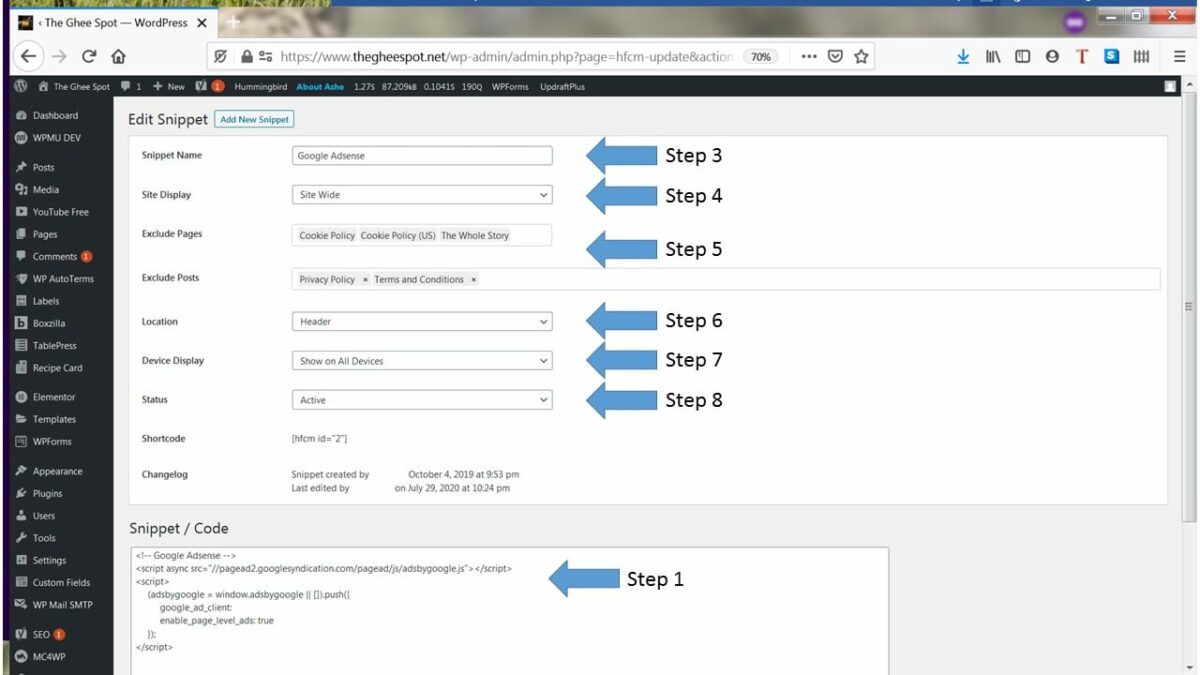
Work through these steps:
- First and foremost, copy that HTML code from google that you put aside at the begining of this section. Paste that code into the Snippet / Code section at the bottom of the snippet page.
- Whew, take a breather, the hardest and most critical part is done.
- Ok now name the snippet something you can easily recognize as the Google Adsense code in the Snippet Name box.
- Under Site Display select “Site Wide”.
- If you have some pages where you NEVER want ads to appear you can select those in the Exclude Pages and Exclude Posts fields. There are other ways to exclude pages from showing ads but this is a sure fire way to ensure it. We’ve got some of our policy pages listed here, not that you can’t have ads on your policy pages but we just figure if you really want to read that stuff you probably don’t click on ads anyway.
- Now get ready, here’s the second most important step. Under Location make sure to select “Header”.
- Device Display should be set to “Show on All Devices” unless you only want adss on some types of devices.
- Make sure the Status is set to “Active”.
- Click that little blue Save button at the bottom now that you’ve done all the hard work.
What now? (aka Next steps)
This will enable ads to be shown across your site. The default setting is to use Auto Ads so Google will finish analyzing your site and then start placing the ads for you. THIS MIGHT TAKE A WHILE. So just let it do it’s thing for a day or fourteen (yes it might take two weeks) before you get too excited. Google has to review your site and this takes a bit of time. Don’t worry, it will happen and then the money will roll (or trickle) in!
Make sure to update your privacy policy, T&Cs, GDPR, etc with the appropriate information now that Google will be collecting data, displaying ads, and paying you.
What if you don’t like where Google is placing the ads? That’s a discussion for another day page.